Milkweed down for insulation and tinder
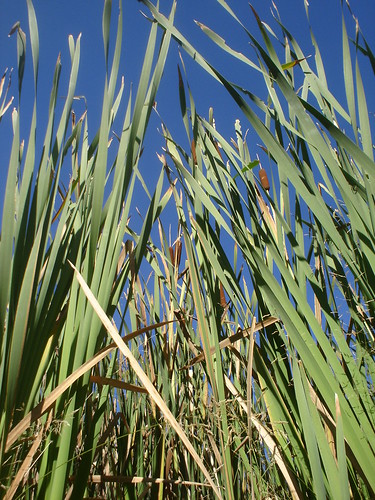
Milkweed (
Asclepias syriaca and related species) is a very versatile plant, its leaves acting as food for the caterpillar of the monarch butterfly, its shoots and young pods edible by humans, and its dried stalks providing excellent fibers for wilderness cordage. Down from the milkweed plant has many uses as well, and this is, depending on your area of the country, the time of year to collect it.

Historically the fine, silky hairs of milkweed down have been used for everything from tinder for spark-based fire-starting, insulation for cold weather moccasins, lifejacket stuffing, clothing and bedding insulation, mattress filler, has been spun (usually in combination with something that has longer fibers) and woven into a fine, silky cloth, today being used to stuff pillows and comforters for people suffering from allergies.
Each fiber--created to be incredibly light and buoyant in order to carry the milkweed seed to its new growing destination--is hollow and waterproof, able to regain a good deal of its loft after being crushed or compressed, and drying quickly when soaked, unlike similarly-insulation goose down. It has, in fact, been found in recent studies to be twenty percent warmer when used as jacket insulation than a similar weight of goose down. The ability to shed water and remain buoyant when wet led to milkweed down being used to stuff lifejackets during World War II, with schoolchildren being sent out to collect the pods as a way to help the war effort.

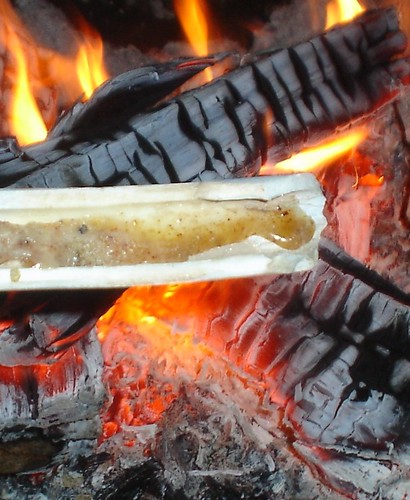
The best time to collect the pods for harvesting down is shortly after they have reached their full size, but before the plants begin turning yellow and the pods opening up to let the down--and seeds--fly. The pods can actually be eaten when they are young and small, boiled in two changes of water to remove the bitter white sap; a treat which somewhat resembles okra in both taste and texture:

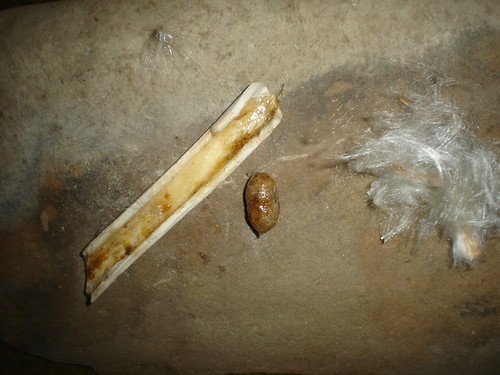
Now, back to the down harvest. To test the pods for readiness, open one up and inspect the seeds inside. They should be fully formed but white instead of brown, and the inside of the pod should be damp, the down tightly clinging to the core in the center.

Once collected (leave behind a pod or two per plant, to ensure that seeds exist to spread next year’s crop) the pods can be kept for a few days in a plastic grocery bag or other semi-airtight container if need be, before separating the seeds from the down, but care needs to be taken that they do not dry out so much that the pods begin to split and open (at which point your job will become much harder!) or remain wet and closed up long enough that they begin to mold.
Remove each of the down bundles from its pod by pulling the pod apart at the center and gently freeing the contents, either scraping the seeds off with your finger or thumbnail right then, or laying them aside and freeing the seeds after you have all of the bundles out of the pods. Seeds should be collected and saved, either for sprouting (to eat) or, if you don't want to try this, simply thrown back out in the general areas from which you collected the pods, in order to ensure a plentiful wild crop for the following year!


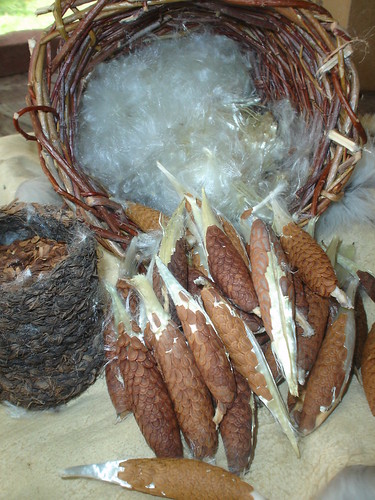
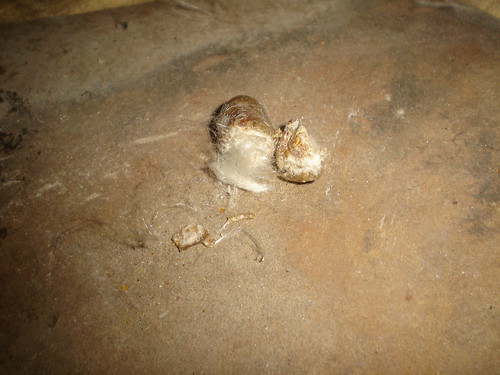
The down, once freed of its seeds, will be damp and appear rather wilted, and needs to be aired out and given time to dry before it is either used or packaged up for later use.

I like using loosely woven willow baskets for the drying, but a cardboard box with a number of small holes punched in it to let the air flow through will work, as well.

If you wait until the seeds have turned brown to separate them from the down, they will come loose somewhat easier (and probably have a better chance of sprouting, if you plan to use them for that) but the task will be more difficult overall, as the down will have begun drying and will try very hard to fly away on you as you work!

If you choose to wait until the seeds brown, it is very helpful to tightly grasp each down bundle at its top when removing from the pod, not releasing this grasp until all of the seeds have been scraped loose. Otherwise, the down will tend to separate from the core and go flying about as you try to work; very frustrating… Try it both ways; you will quickly discover which you prefer.
The down will expand greatly as it dries, and needs to be handled with care after it is done, to prevent it blowing all over your camp or sticking in your carpet as you handle it! You are now ready to use the silk to fill a down vest, stuff between two layers of wool socks for additional warmth, or even fill a quilt or comforter, if you have enough of it!

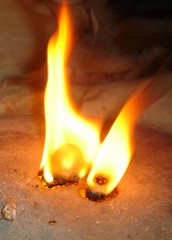
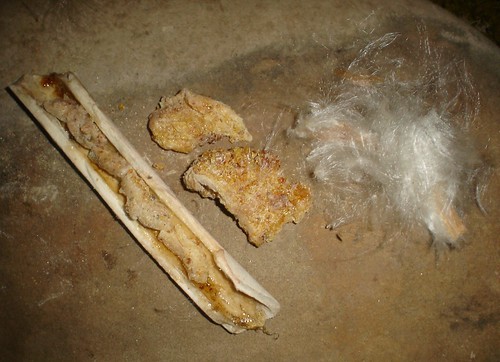
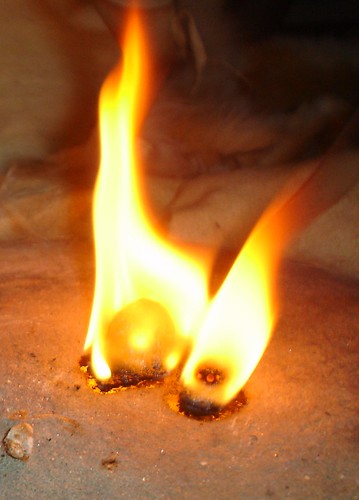
In addition to being a great insulator, milkweed down also makes the best natural tinder I have found for catching a spark from a spark-based firestarter such as a ferro rod. It will, in my experience, catch a spark even easier than cotton, flare right up and burn long enough to light your kindling. A good combination that I like to use is milkweed down to catch the sparks, surrounded by juniper (or any type of cedar) bark to hold them a bit longer. I'm using a magnesium fire block here, but am not shaving off any of the metal, just using the attached ferro rod for sparks:


Milkweed takes on the first strike

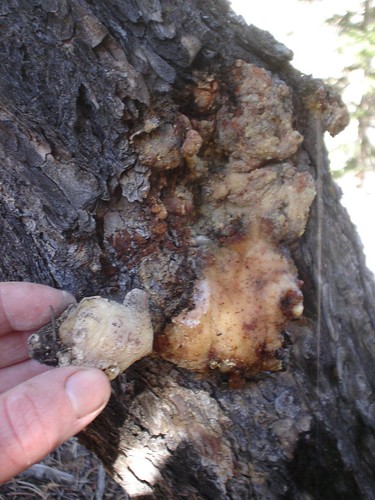
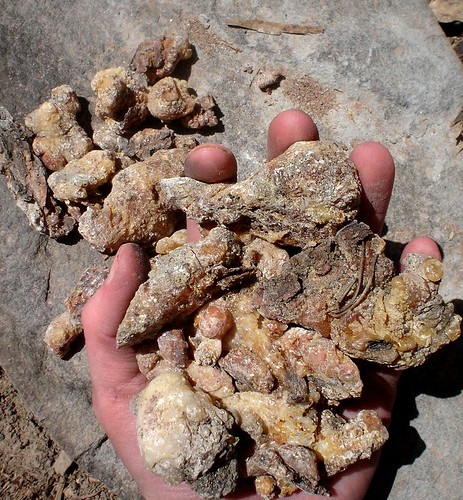
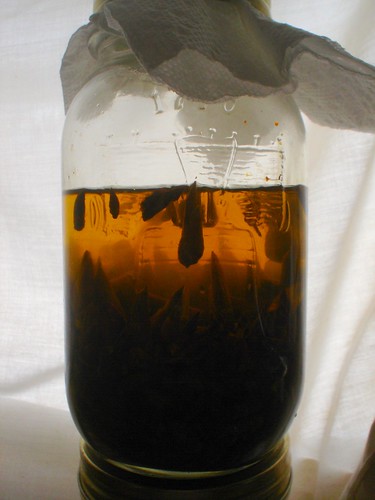
Then the juniper goes! Instant fire... I always carry a little bag of milkweed down in my fire kit, and have never found anything better for catching a spark, the first time every time. Also, I have come up with a "wilderness alternative" to the petroleum jelly-soaked cotton balls that so many of us carry, by melting pine or spruce pitch and pouring it over little wads of milkweed down, leaving a bit of down sticking out to catch the sparks. But that is a subject for another post, if anyone is interested!
These are just a few uses I have discovered for milkweed down. I would be very interested to hear how some of you have used it!